


Product Reviews
NZXT H710i review: effective cooling goes discreet
Here is a computer case that goes beyond expectations with its design, looking great while remaining functional. BRYAN TURNER built a PC housed by the NZXT H710i case.
For the most part, computer cases are either large RGB light shows or discreet cases. For PC-builders wanting to get started and unsure of which design to choose, this case makes sense, since a software option enables users to choose between light show or discreet.
Out of the box, it’s a typical mid-sized tower with clean corners. Along the front, there’s a small NZXT logo at the bottom and nothing else. On the top: a USB-C port and two USB-A ports (both USB 3.1 Gen 2), along with a combo 3.5 jack for headphones and mic. Included in the box is a breakout adapter to the standard green speaker and red mic plug for those with that style of headset.

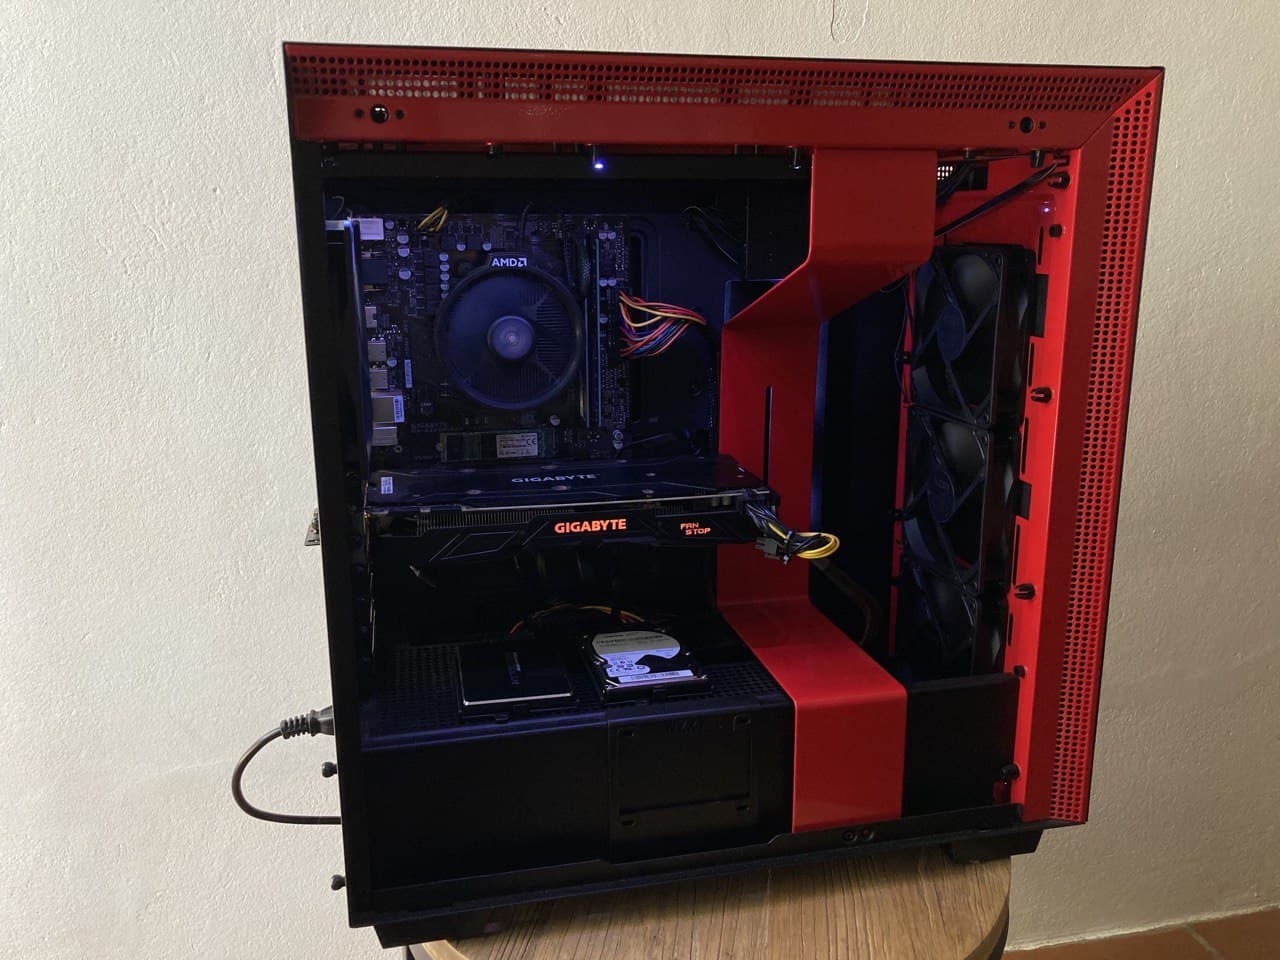
The right side is an opaque, matte-style metal, which is used to hide the cables, and can be removed using a button on the back. This helps users with cable management once everything is installed, revealing velcro ties and channels to run cables along. On the left side is a clear panel to show off all the gaming equipment one will install inside it. This comes off by unscrewing a clip on the back, then unclipping the tempered glass panel.
Mounting holes just above the power supply enable customisable clipping of vanity components. We put both 2.5” SATA drives on this panel to show off every component through the glass panel. For those wanting to hide components, there are the same mounting holes behind the motherboard.

The case fits several types of motherboard, with all the right mounting screw clearance holes to enable installing any modern board up to E-ATX size. Those with massive GPUs need to note the GPU length can not exceed 410mm for this case.
When assembling it, one will need a spare USB header on the motherboard and an available SATA power connector from the power supply to attach the NZXT Smart Device V2. This feature is a must for those wanting to power up and control the preinstalled fans and RGB lights.
The included lights run along the top interior of the case, illuminating the internal components from above, while there are three included front fans and one rear fan. For those who need serious cooling solutions, there are more mounting brackets on the top of the device, as well as space for water cooling components.
Since our build was fairly modest, the included cooling was more than enough to throw in all the parts and power it up. After installing NZXT Cam, users can set up the case’s lights and fans to their liking. The software is quite extensive, and can be tailored to various scenarios. We chose to change the case’s LEDs to the temperature of the internal components, so it can be colourful and useful. This was also tied to the fans — when things got hot, the case fans spun faster.

The included fans are my favourite part of this build: even when they’re spinning at max, they’re near silent. It’s rare to find such high-quality fans included with a case. There is a reason for this: it’s not cheap. At R3,700 (varies from shop to shop), it’s one of the more expensive cases out there. However, it includes so many additional features that may end up saving money on extra components along a PC-building journey.


