Featured
The Lego Technic Forest Machine : Creating something from nothing
Lego has always been designed to challenge a child’s imagination. Thousands of kits are available, each suited to different age groups. The idea of the Technic range is to teach children the basics of gears, motors, electrics and mechanics. SEAN BACHER puts his building skills to the test with the Lego Technic Forest Machine.
Share
- Click to share on X (Opens in new window) X
- Click to share on Facebook (Opens in new window) Facebook
- Click to share on LinkedIn (Opens in new window) LinkedIn
- Click to email a link to a friend (Opens in new window) Email
- Click to share on Reddit (Opens in new window) Reddit
- Click to share on WhatsApp (Opens in new window) WhatsApp
- Click to share on Pinterest (Opens in new window) Pinterest
When I was young I loved Lego. More to the point, I loved the idea of unpacking a box and cutting open the packets of blocks that didn’t resemble anything and following the instructions on how to click them together – finally ending up with a toy that resembled something that everyone could relate to.
Fast forward to now and nothing has changed. I still love combining the blocks, hinges and wheels to transform nothing into something.
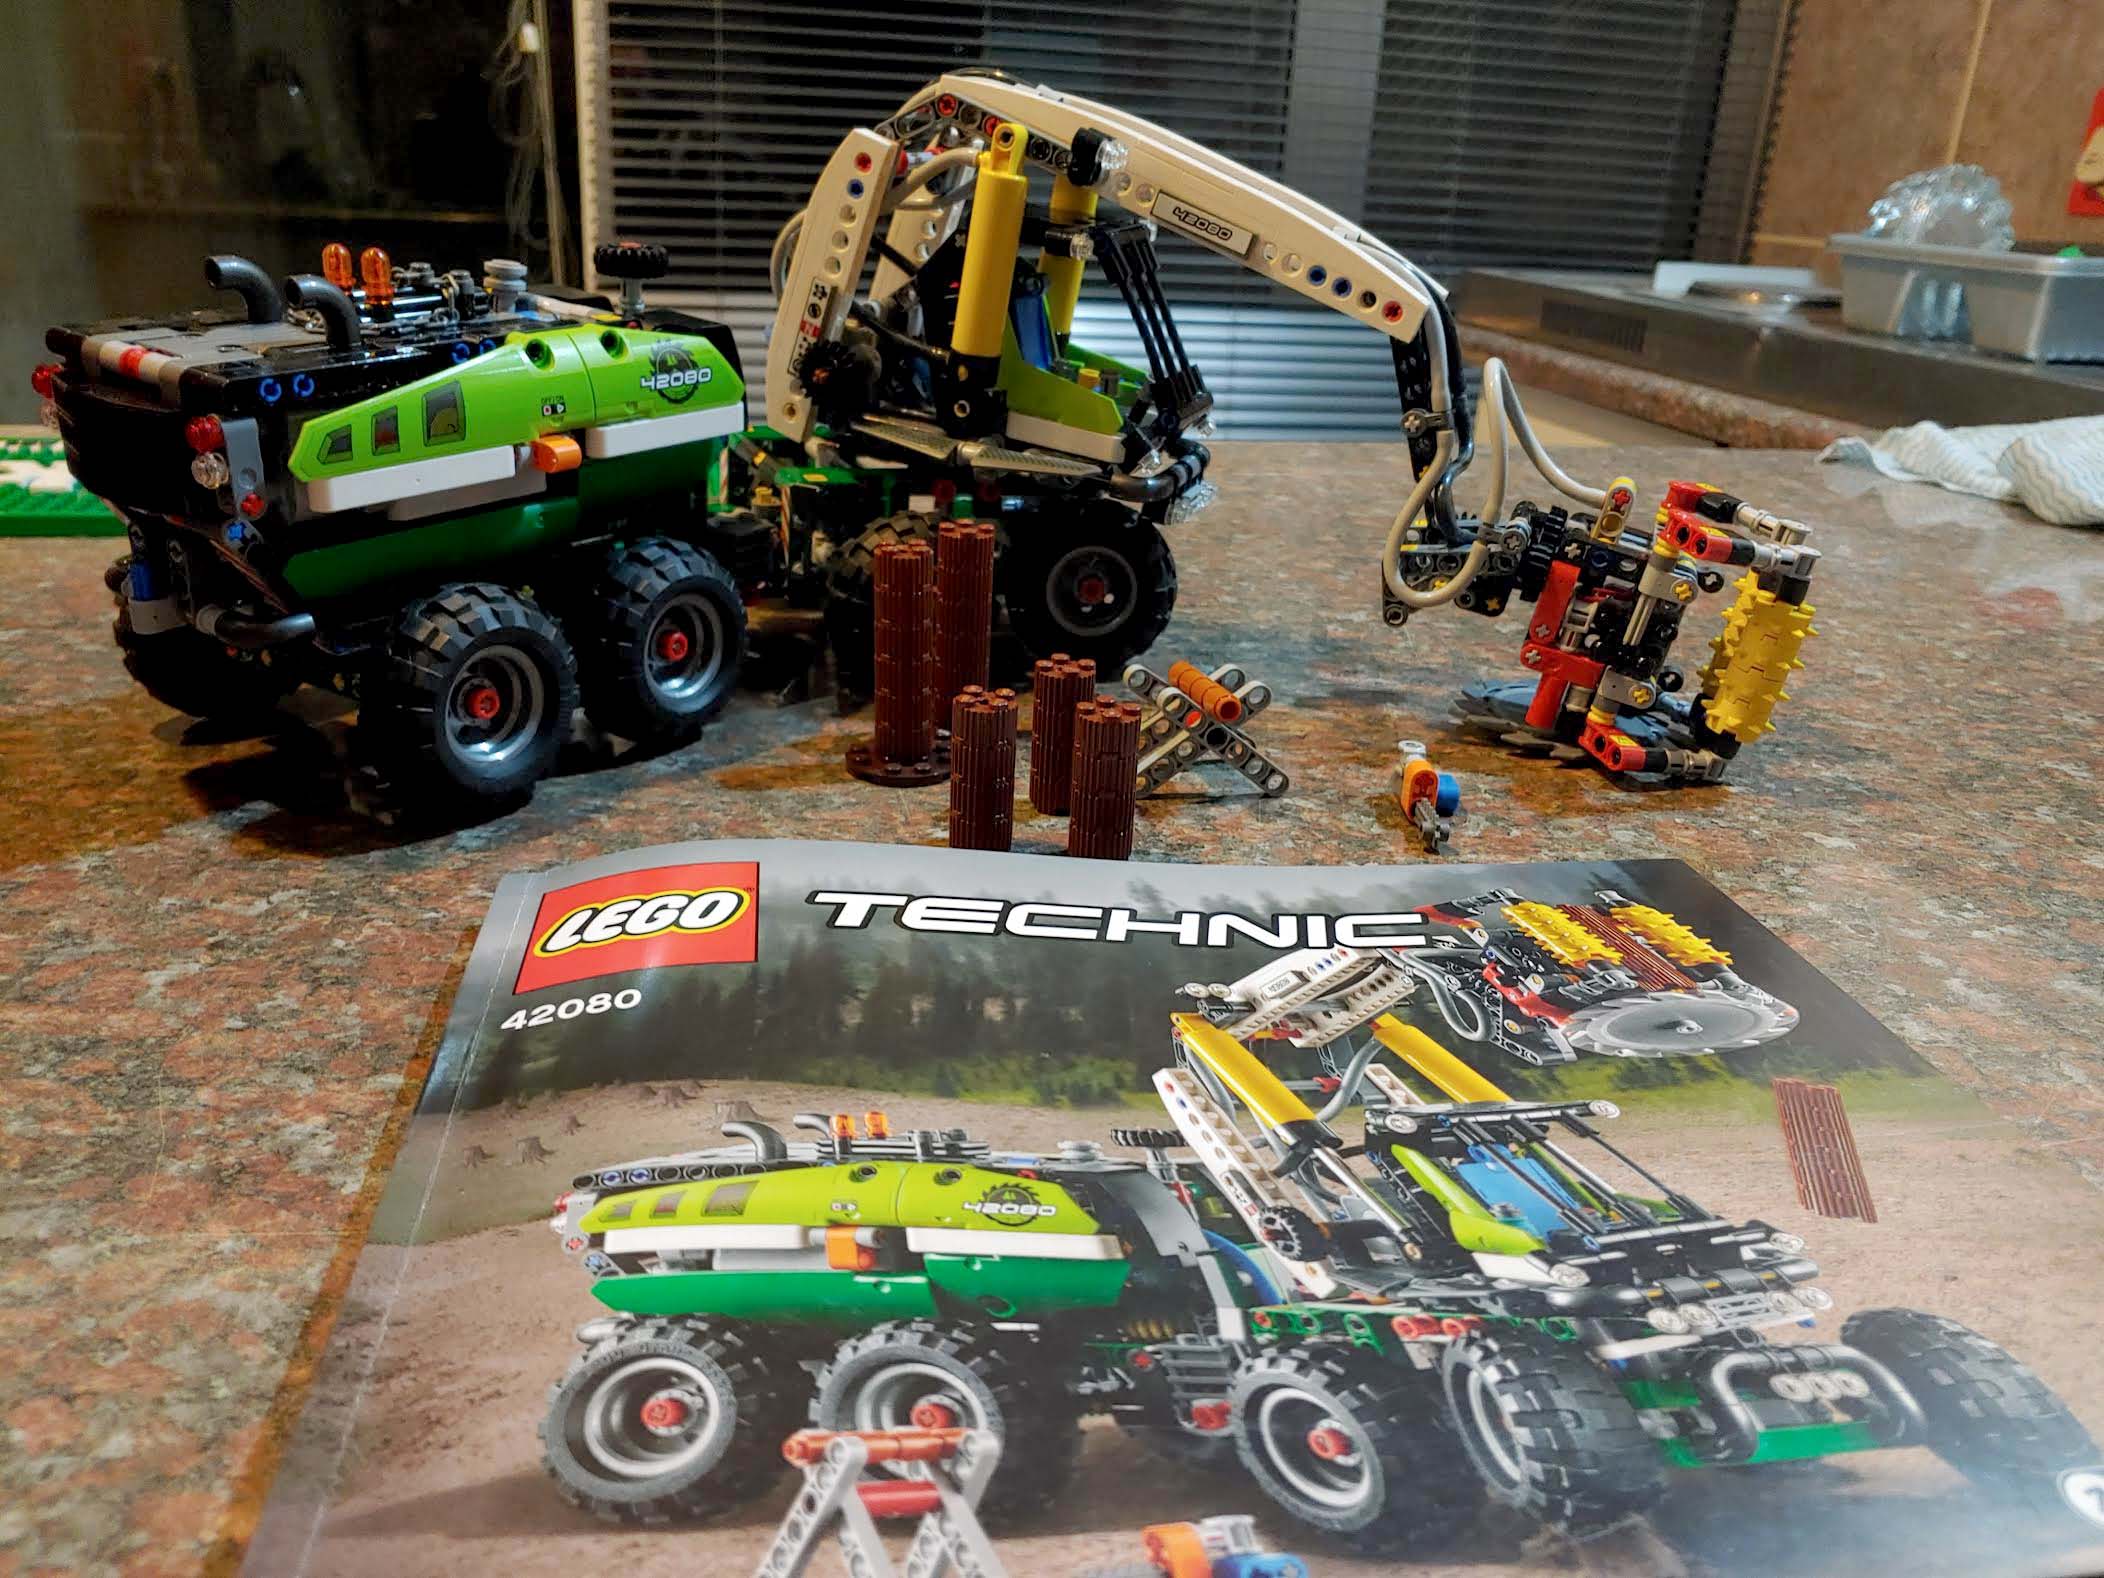
So I couldn’t wait to get stuck into the Technic Forest Machine (model number 42080) kit to build and test.
Looking at the picture on the box, I thought: “How hard can it be?” A few blocks clicking together combined with some stickers for decoration and I would be done in no time. Boy was I wrong.
Unboxing
When I emptied the box there were nine bags of Lego bits of all shapes and forms. The step-by-step manual revealed that I had 369 steps to get through until the 1 004 bits would resemble the Forest Machine.
However, to make things easier, Lego split the kit up into three modules. Module one is the main cab or cockpit, module two is the trailer and module three the crane and its claw. Each of these are split in sections in the manual, allowing you to complete one section before moving onto the next one. The bags are also numbered one through to three so you know which ones are needed for each module.

Module One: The Cab
Step 10: It’s all about placing the rivets in their allocated positions
The first module is the cab and it starts off with a block no bigger than a matchbox with holes situated on all four side. Rivets – which can be thought of as the nuts and bolts of the kit then need to be placed in predetermined holes. Additional L pieces, T pieces or blocks are then added to the rivets and as one moves through the steps new rivets are added. It is a seemingly basic and easy to follow building strategy, but should a rivet be in the wrong place, it may not be immediately noticeable but will show up a few steps down the line. This means it is back to the drawing board as you need to undo all the building you have completed to find that one mistake.

Step 23: The beginnings of the main cab…
At the beginning of the review I thought I would take a photo at every ten steps. I quickly decided against this as many of the steps were simply depicting how to add one or two pegs to a part or adding an additional rivet – not much to show photographically. It also slowed the building process down – I couldn’t wait to finish the current step so I could move onto the next one.
But, at the end of step 23 I had two components that would make up the beginnings of the cab. The one on the left is the chassis which will hold the wheels and suspension. The part on the right is the beginning of the double wishbone for the front wheels that will eventually click onto the chassis.

Step 48: The Forest Machine is all about pneumatics, cogs and gears
After adding endless rivets I was able to attach some lights, a bumper bar, and the rear wheel axle. Things were starting to take shape.
The various Lego Technic kits on offer are designed to teach youngsters about the basics of mechanics. This kit was built with pneumatics, cogs and gears in mind. The pneumatics come in much later, but as can be seen now, the first gear assembly is complete and ready to be installed between the cab and the chassis to allow it to rotate 270 degrees.

Step 100: The cockpit is complete
Lego’s attention to detail is amazing. In the cab is a seat with a coffee mug, a thermos and two working controls.
The most interesting part is the two pneumatic valves which can be seen to the left of the image. Once the Forest Machine is complete these valves will control the air flowing through the system via the rotation of the brown star-shaped pegs. These in turn will activate and deactivate the boom pistons and the crane’s claw.

Read more on the next page about the trailer and crane assembly.
Share
- Click to share on X (Opens in new window) X
- Click to share on Facebook (Opens in new window) Facebook
- Click to share on LinkedIn (Opens in new window) LinkedIn
- Click to email a link to a friend (Opens in new window) Email
- Click to share on Reddit (Opens in new window) Reddit
- Click to share on WhatsApp (Opens in new window) WhatsApp
- Click to share on Pinterest (Opens in new window) Pinterest
| Thank you for Signing Up |


